Convert JPG to PNG on Mac (Offline)
Some apps, templates and upload forms only accept PNG, and PNG is a safe working copy when you'll edit an image several times. Macsential converts JPG to PNG on your Mac, one file or many at once.
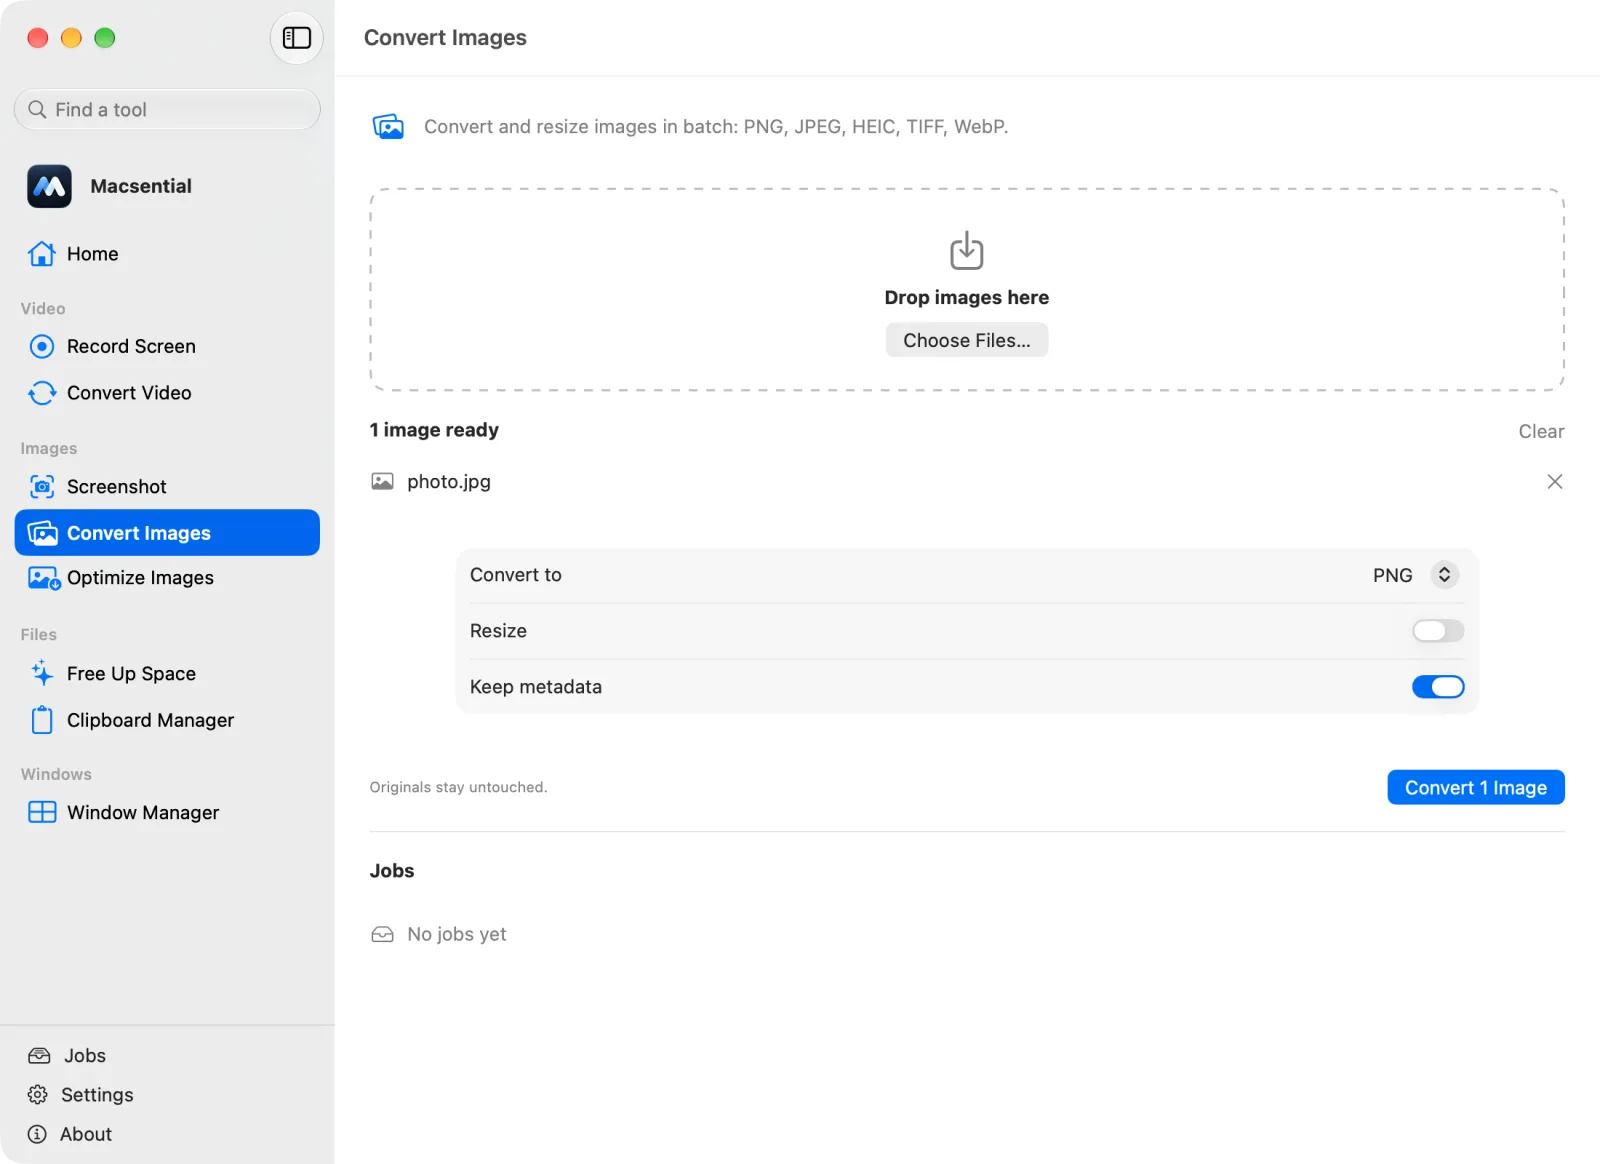
Convert JPG to PNG in Macsential
- 1
Open Convert Images in Macsential's sidebar, or select the files in Finder and choose Quick Actions ▸ Convert Images….
- 2
Drop the files on the page, or click Choose Files…. You can add as many as you like.
- 3
Set Convert to to PNG. Turn Resize on only if you want smaller dimensions, and leave Keep metadata on to keep the camera, date and location data.
- 4
Click Convert. The .png files are saved next to the originals, which aren't changed.
In our test
We converted a 3.2 MB iPhone photo (JPG) to PNG with the default settings.
| Sample | 12 MP JPEG straight from an iPhone 15 Pro, with camera EXIF and GPS |
|---|---|
| Input | 3.2 MB, 4032 × 3024 px |
| Output | 16.4 MB (+414 %), 4032 × 3024 px |
| Settings | PNG, keep metadata on |
| Time | 0.74 s |
| Metadata | Camera make and model kept, Date taken kept, GPS location kept, Color profile kept, Orientation kept |
| Mac | Apple M1 Pro MacBook Pro, macOS 27.0.1 |
One sample file, measured with Macsential's converter on our Mac. Your files and Mac will give different numbers. How we measure
When JPG to PNG makes sense
Convert when a tool insists on PNG, or before editing a photo many times so each save doesn't add more JPG compression. Converting won't undo the compression the JPG already has, won't make the image sharper, and won't give it a transparent background.
Quality and file size
The PNG looks exactly like the JPG, because it stores the decoded pixels without loss. It is much bigger: our 3.2 MB photo became 16.4 MB (5.1× the size). To keep PNGs manageable, turn on Resize and set a longest edge.
Camera, date and location data
With Keep metadata on, the camera model was kept, the date taken was kept, the GPS location was kept and the color profile was kept in our test. Turn the switch off to leave the camera, date and location data out.
Batches
Drop as many JPGs as you need; they're converted in parallel and saved next to the originals with new names, so nothing is overwritten.
With what's built into macOS
Open the JPG in Preview, choose File ▸ Export and pick PNG. Or select the files in Finder, Control-click and choose Quick Actions ▸ Convert Image, then set Format to PNG.
Where it falls short
- Finder's Convert Image only offers Small, Medium, Large or Actual Size, not a size you choose.
- Preview's batch export needs every image open and selected in its sidebar, and Apple Community users report that it sometimes skips files.
Related conversions
- PNG to JPG Make screenshots and graphics small enough to email or upload, with control over quality.
- HEIC to PNG Turn iPhone photos into PNG files that open everywhere, without losing any quality.
- WEBP to PNG Save web images as lossless PNGs for editing, keeping transparent backgrounds.
- PNG to WEBP Make images smaller for websites, keeping transparency, even though macOS can't save WebP.
Questions
How do I change a JPG to a PNG on a Mac?
Open it in Preview, choose File ▸ Export, set Format to PNG and save. To convert many at once, use Finder's Quick Actions ▸ Convert Image or Macsential's Convert Images.
Does converting JPG to PNG improve quality?
No. The PNG keeps exactly what the JPG shows, compression artifacts included. It only stops further loss if you edit and save the image again.
Will the PNG have a transparent background?
No. A JPG has no transparency, so the PNG has the same solid background. Removing a background is a separate editing step.
Why is the PNG bigger than the JPG?
PNG compresses without loss, which suits flat graphics but not photos. Our 3.2 MB photo became 16.4 MB as PNG.
Is it free to convert JPG to PNG on a Mac?
Yes, with Preview or Finder's Convert Image, which are built in. Macsential adds batch control, resizing and a metadata switch in one place.
Last updated